Identity Verification Providers
Cenda+ integrates with a number of Identity Verification Providers (IDV's) to enable complex user identity Journeys.
Yoti
Condatis has partnered with Yoti to provide our clients with the ability to securely verify a user's identity. The integration with Yoti enables organisations to request information from a user's driving licence or passport, these attributes are then returned to the organisation's relying party. From here organisation's are able to issue new verifiable credentials which include these verified attributes. More information on identity verification with Yoti can be found here.
![]()
Organisations can use Yoti via Cenda to ensure that the data being shared comes from a verified source.
Verifying attributes held in the Yoti wallet
Cenda has been configured to verify a user's Disclosure and Barring Service (DBS) and Right To Work (RTW) status using information from their Yoti digital ID profile.
To allow for a high level of assurance with the verification request, the requirements for the user's identity profile are shown in the table below:
| Field | Configured Value | Description |
|---|---|---|
| Trust Framework | UK_TFIDA | The trust framework that the identity profile should be verified under. |
| Scheme Type | DBS_RTW | The scheme that the identity profile should satisfy. |
| Scheme Objective | Enhanced | The objective to be achieved for the scheme set above. |
These requirements mean that all verification from Cenda to Yoti will check for the DBS and RTW status of the user. The checks performed will follow the UK_TFIDA trust framework to assert for a High GPG45 level.
Requirements and app configuration
The user will need to install the Yoti mobile application on the device, and have uploaded their passport and/or driver's licence to their profile. They will also need to take a selfie for their digital ID as this is included in the returned claims for our Yoti verification journey.
This can be done during the verification journey but it is advised to do it beforehand as it may take some time for Yoti to verify the user's documents.
It is also advised to have both documents specified above uploaded to retrieve the full list of returnable claims.
Attributes requested
The user will be asked to share these attributes on the Yoti app:
- Full name
- Date of birth
- Address
- ID document details (such as passport/driver's licence number)
- ID document photos
- Identity check report
The user will also be asked to share their selfie photo and scan their face using the mobile device's camera to ensure that it is the user sending the details.
The Identity check report is an encrypted report required by the law stating how Yoti reaches the level of verification needed. It comprises the ID documents added to the verification check; how Yoti checks the validity and owner of these documents; and any checks done by trusted partners needed to confirm certain details. This information is available to the user during their verification journey.
Overview of the verification journey
Organisations can invoke the Yoti verification flow using the verified identity scope for Yoti:
scope = openid+VerifiedIdentity
The Yoti flow can be initiated on a desktop via a QR code or on a mobile device via a deeplink button.
The Yoti app will guide the user through the verification journey, which roughly follows:
- Confirming the domain the user came from
- Confirming the data to be sent for the DBS and RTW check
- Scanning their face using the camera
Receive the Code for a JWT
After completing the journey on the Yoti app, the user will be redirected to the redirect URL and provided a code. The code will be returned as a parameter in the redirected page's URL, which can be exchanged in an HTTP request for a JWT.
The user can then decode the generated JWT using jwt.ms and view the attributes as claims.
Returned Attributes
The claims returned are in accordance with the DCMS identity schema, with the exception of the user's gender which was a requested claim to be included.
Some claims relate to the user's identity. Depending on the documents provided in their digital ID profile, the claims may include:
| Claim | Source |
|---|---|
| Given Name | License / Passport |
| Middle Name | License / Passport |
| Family Name | License / Passport |
| Address | License |
| Date of Birth (YYYY-MM-DD) | License / Passport |
| Gender | Passport |
| Nationality | Passport |
The other claims are relevant to the user's DBS and RTW check and the values indicate the results of the identity profile report:
| Claim | Example |
|---|---|
| Trustframework | UK_TFIDA |
| Scheme | DBS - ENHANCED, RTW |
| Assurance Policy | GPG45 |
| Confidence Level | HIGH |
| Identity Evidence Profile | H1A |
| Strength | 4 |
| Validity | 3 |
| ID Fraud | 1 |
| Verification | 3 |
| Organisation | Yoti Ltd |
The user's selfie photo will also be provided as a base 64 encoded value, which can be decoded to view the image.
To ensure that the image can be included in the response, image compression is applied and can be configured as an appsetting in Cenda. The amount of compression is determined by the quality parameter, and the aspect ratio is kept when setting the values for the longest side and shortest side of the image.
Verification journey failures
The Yoti verification might fail during the journey - in this case, the user will be shown an error page on their Yoti app and redirected to the redirect URL with an error message that relays the cause.
This could happen for different reasons - such as the user not having the mandatory documents for the request, or the user's address not being verified.
For a full list of possible failed verification error messages, you can check out this page.
Timeout limit
If the user initiates a Yoti verification journey but does not scan the QR code (or click the deeplink) and complete the journey within 5 mins, Cenda will hit its timeout limit and send the user to the redirect URL with an error message stating "Timeout limit reached".
Onfido
Condatis has partnered with Onfido to provide our clients with the ability to securely verify a user's identity.
The integration with Onfido enables organisations to request information from a document provided by the user - including driving licences, passports, and residence permits. The attributes retrieved from the document are then returned to the organisation's relying party. From here, organisations are able to issue new verifiable credentials which include these attributes.
More information on identity verification with Onfido can be found here.
![]()
Verifying attributes with Onfido
Organisations can use Onfido via Cenda to ensure that the data being shared comes from a verified source.
For each Onfido verification session, the user will need to select and provide a single document as a source of information for the attributes, which are then verified by Cenda. Depending on the document type, these attributes may include all of the following:
- Given name
- Surname
- Date of birth
- Gender
- Address
Onfido verification journey flow
Organisations can invoke the Onfido verification flow using the verified identity scope for Onfido:
scope = openid+VerifiedIdentity_Onfido
Overview of the verification flow
The Onfido verification flow can be initiated on a desktop or a mobile device; both of which require users to upload their chosen documents photographically.
The verification journey steps are:
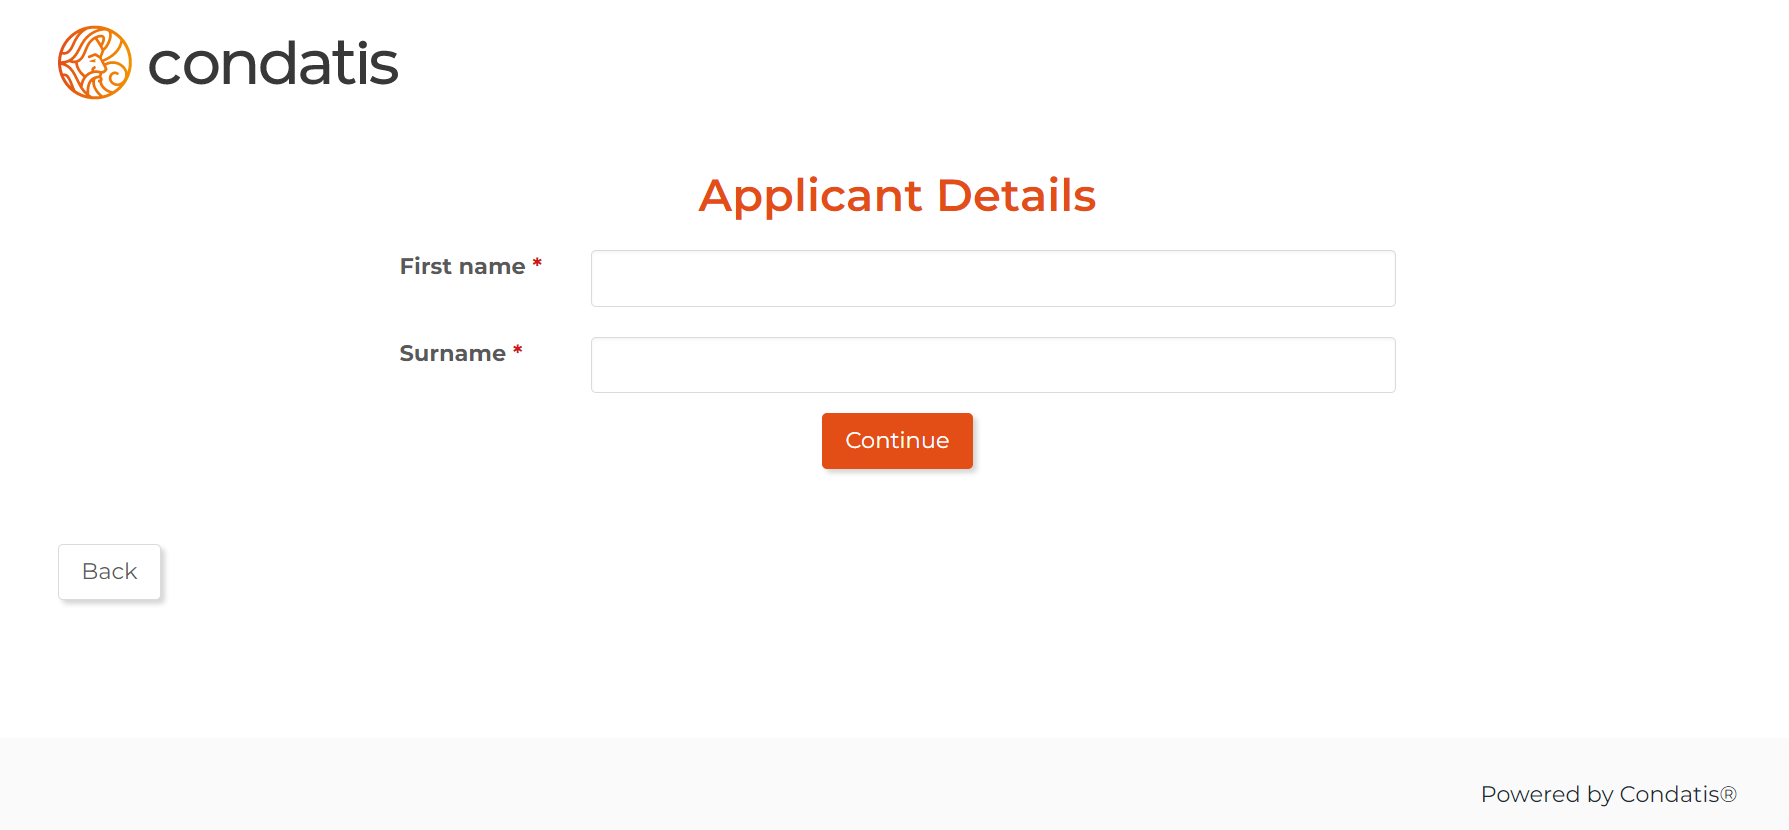
- Enter the applicant's details
- Follow the instructions prompted by the Onfido Web SDK
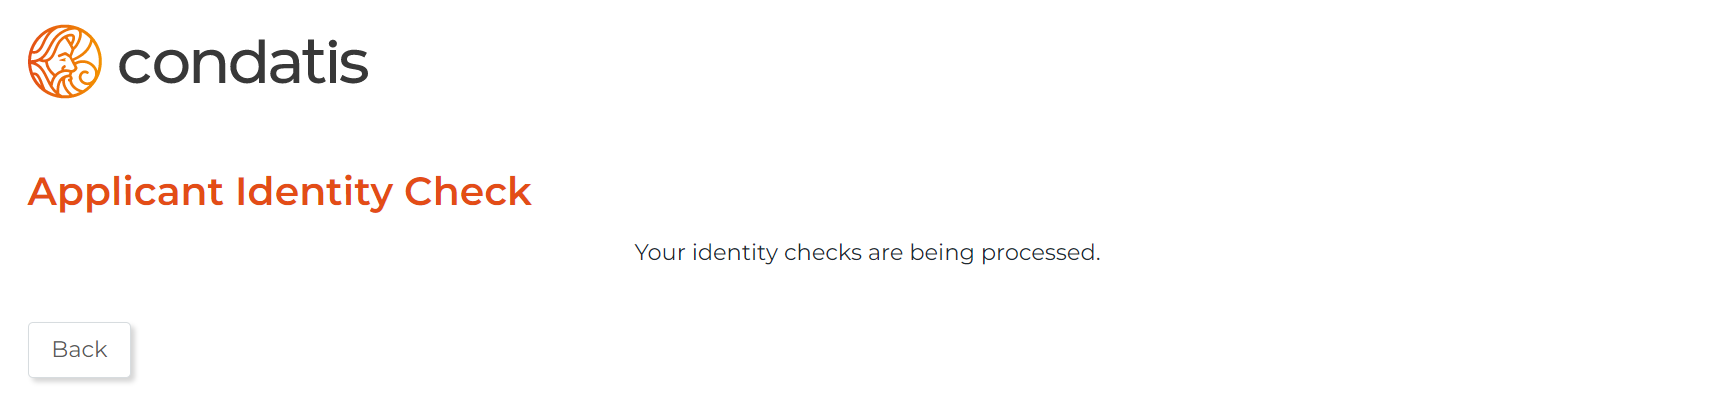
- Wait for the verification checks to complete
- Receive response and view attributes
The verification may not complete in the configured timeout limit, in which case the user will be redirected to the configured redirect uri and provided the context ID required to complete the verification at a later point.
Enter the applicant details
The first step for the verification flow is to enter the applicant's first name and surname on the Applicant Details page. These details are used to create the applicant ID for the current user session.
Upload documents and selfie for Onfido
Cenda uses the applicant ID to initialise the Onfido verification journey via their Web SDK, which will display instructions for the user to follow. These instructions include choosing the document type to submit, uploading evidence of the document, and taking a selfie of the applicant.
On a desktop journey, the user can choose to upload files directly from their desktop device and take a selfie using a webcam. Alternatively, they can temporarily transfer to a mobile device to take a photo and a selfie, before returning to the desktop.
On a mobile initiated journey, the instructions are the same and the user can upload their documents and selfie by taking a photo directly on their device.
Wait for the check to complete
Once the Onfido journey has been completed and the documents are submitted, Cenda requests Onfido to perform Checks on the documents.
Receive response
When the checks are completed successfully within the timeout limit configured (60 seconds), Cenda will return the attributes retrieved from the verified documents.
The user will be provided a code that can be exchanged for a JWT containing the attributes as claims. For users that are redirected to the relying party, the exchange is carried out automatically after the Onfido checks have been completed, and the attributes from the JWT are listed.
The exchange can also be performed manually via HTTP requests. The code will be returned as a parameter in the redirected page's URL, which can be exchanged in an HTTP request for a JWT. The user can then decode the generated JWT using jwt.ms and view the attributes.
Timeout and returning applicant journey
Sometimes, the checks carried out by Onfido may take some time to complete and could exceed the configured timeout limit in Cenda. In this case, the user will either be redirected to a specific page on the relying party with the context ID provided as a URL parameter or redirected to jwt.ms and provided an error message that contains the context ID.
Returning applicant journey via relying party
The relying party will use the context ID to resume the incomplete verification journey. The user will be taken back to Cenda, which will check if the Onfido checks are completed yet. If the user needs to leave the pending page before the Onfido checks are completed, then they should ensure that the context ID has been copied for future use.
The request can also be built manually on the relying party by navigating to the Onfido verification pending page and appending the context ID as a parameter:
{{baseUrl}}/verifiedidentity/onfido/pending?contextid={{context ID}}
This is useful for situations such as when the user wants to return to the relying party at a later point, or if the user was redirected somewhere other than the relying party originally.
Returning applicant journey via jwt.ms
For verifications that are redirected to jwt.ms, the user will be provided an error with an error description containing the context ID and other information.
Copy and paste the context ID as an additional parameter in a verification request to trigger the returning applicant journey.
&context_id={{context ID}}